Introduction
⚡️Attention: The connection of electrical cables and the device test should only be carried out by trained specialists! Furthermore, you should always make sure that there are no other sources of danger (e.g. loose cables as trip hazards).
The majority of the cabling around the tennis court does not require an expensive specialist - it is worth taking over some of the work yourself and only letting the electrician do the connection and testing. To be on the safe side, it is basically recommended to having all electrical and communication interfaces (telephones / network) checked by a specialist on a regular basis.
📝 Note: As much personal contribution as possible, as little expert as necessary. According to this principle, surprises can be avoided in the electrician's bill.
Overview
For quick navigation, we have compiled a small overview of the most common installation methods:
| Installation type | Effort | Costs | Recommended for... |
| Ready to use cables + cable clamps | Low | Low | Fast and cost-effective implementation |
| Ready to use cables + cable ducts | Medium | Medium | Subsequent adjustments or extensions |
| Raw cables + installation pipes | Medium | Medium | Combination with other electrical work |
| Raw cable + flush installation | High | High | New buildings, design buildings |
📖 Terminology
Ready to use cables: With pre-assembled plug for immediate use.
Raw cables: The plug or socket must be purchased separately and connected or checked by a specialist.
Surface-mounted installation: Cables are either laid directly or in a cable duct on the wall.
Flush installation: Cables are laid in empty conduits directly in the concrete or in newly-capped slots in the wall.
Ready to use cables + cable clamps
The fastest way to install the cables is to simply nail them to the wall. You should make sure that you choose the nail clip that fits the cable diameter so that the cable will not be damaged. For parallel installation of two cables, double nail clamps are available in stores. For areas where installation with one nail is not possible, you can also use nail clamps that can be glued on.
💡Tip: If you only use ready-to-use cables, you can carry out all steps yourself. If you do not have an E-Check carried out, it is advisable to document that there was no damaged cables after installation (e.g. by taking photos).
Ready to use cables + cable ducts
Cable ducts make it a little more flexible and tidy. The installation is a bit more complex and the ducts are a bit more expensive in comparison to cable clamps or installation pipes. But you can use ready-to-use cables, which, unlike the clamps, can be easily replaced later.
⚡️Attention: If you lay power and network cables in the same duct, sufficient isolation of both cables and a detailed check for damage is essential!
💡Tip: If you are planning further modernization of your facility in the future, it might be clever to consider a little more space in the cable duct. This way, the cabling can be easily extended later.
Raw cables + installation pipes
Installation pipes are slightly cheaper than cable ducts and the first choice of professionals for surface-mounted electrical installations. Especially for cabling along the ceiling, they offer some advantages compared to cable ducts.
Since onlyraw cables can be drawn into the installed pipes, separate plugs or sockets are necessary. However, this offers the advantage that the entire infrastructure can be expanded at once (e.g. by installing multiple sockets).
💡Tip: If installation pipes fit better into the appearance of your building, but only ready-to-use cables can be considered, you will find a special solution here in which cables can also be inserted later.
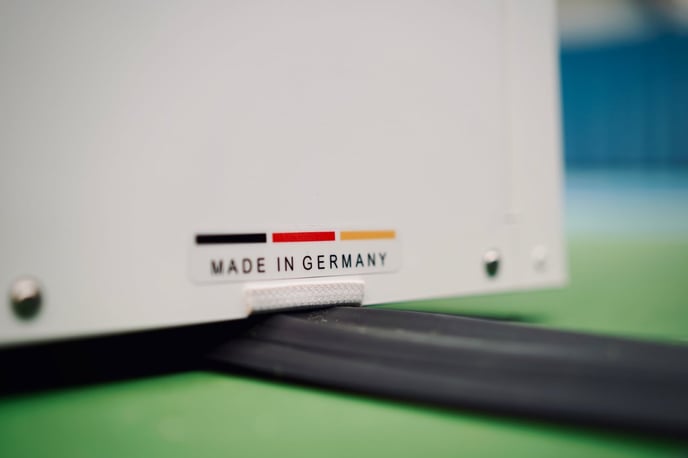
For distances on the court itself, we always recommend working with rubber cable ducts, as they are also included in our scope of delivery. For example, the path from the edge of the court to the Wingfield Box can be bridged perfectly.
💡Tip: Depending on the type of flooring, it is also recommended to fix the rubber cable duct to the floor with double-sided duct tape. Many of our customers also fix the channels by placing larger runners on top. Pragmatism often pays off! 😉
Raw cable + flush installation
Only recommended for short distances where the risk of tripping is increased or which should be well concealed from an aesthetic point of view (e.g. distances from the net post to the edge of the court or between the players' benches). In this case, a slot is milled into the existing masonry (or floor), so that the cable can then be laid directly or, better still, in an empty pipe.
On classic sand courts (e.g. in air domes) this can be done within 15 minutes with a good shovel – but on solid floors special tools (wall groover) are required. This is an ideal solution if you want to have peace and quiet after installation and do not have a sensitive budget.
Recommended links 🔗
👨🏼🏫 Crash course in network technology
A short article about the main components of the network will follow shortly.
📦 Products
Here you will soon find an overview of recommended products and our partners where you can purchase them directly. In the meantime, please contact us directly if you need help.
You are standing on the court and don't know what to do? We are here for you!
📞 Service hotline: +49 (0) 511 51525901
💬 WhatsApp: click here
📨 E-Mail: service@wingfield.io