
These installation instructions apply to the following system types:

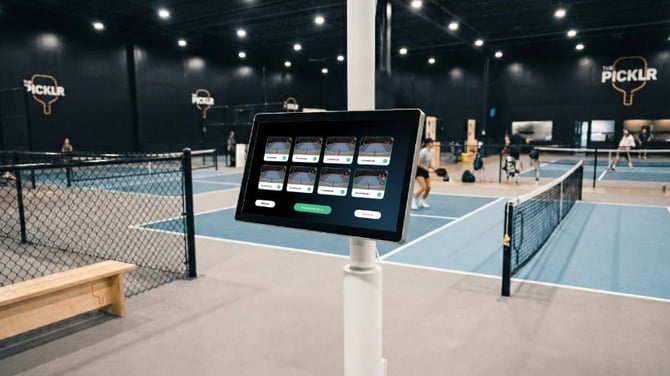
The Dual Camera Module (DCM) is the tracking camera unit of your Wingfield AI Pro system, delivering precise ball tracking on your court. This guide walks you through mounting the DCM on our freestanding pole solution for tennis and pickleball courts.
In this article, you’ll learn:
- ✔ Which distance and height requirements apply (🔗 Quick link)
- ✔ How to mount the Dual Tracking Camera to our Standard Pole solution (🔗 Quick link)
- ✔ How to mount the Dual Tracking Camera to a wall (🔗 Quick link)
- ✔ How to align and calibrate your Dual Tracking camera (🔗 Quick Link)
Find the right position for your Dual Camera Module
When installing Wingfield AI Pro on a tennis or pickleball court, the distance to the sideline and the height of the camera are crucial to ensure accurate tracking quality. Stick to the recommended distances in the table below.
a. Distance to the sideline
The Dual Tracking Camera needs to be mounted at mid-court, next to the net, ensuring that both cameras can evenly cover the entire court.
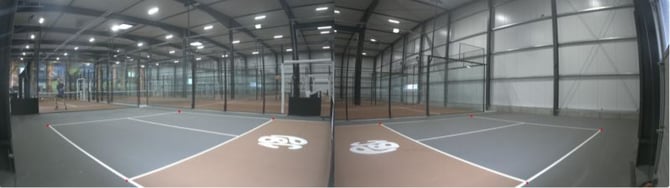
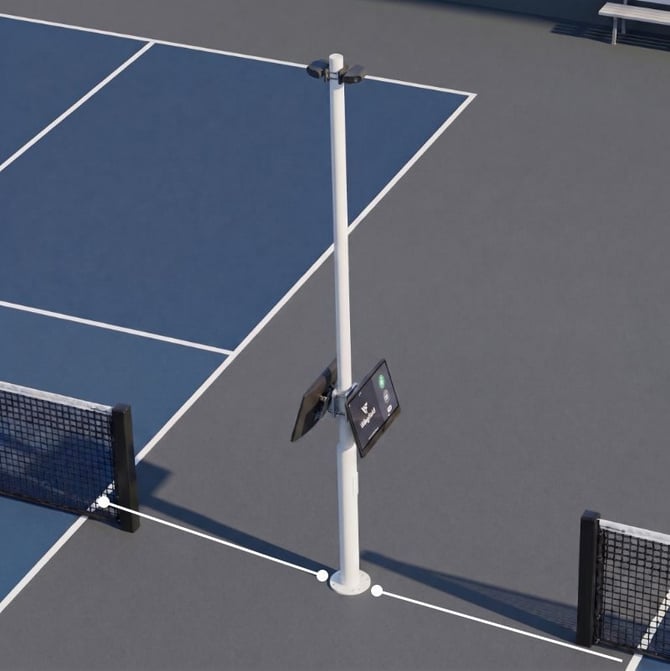
This image shows a multi court setup with a back-to-back installation with our standard pole solution
Measure from the potential camera position to the sideline.
| Sport | Distance to sideline | Rating |
|---|---|---|
| Tennis | <2 m / <6.6 ft | ⏳ TBD |
| 2 m / 6.6 ft | ✅ Good | |
| 3 m / 9.8 ft | ✅ Good | |
| 4 m / 13.1 ft | ⚖️ OK | |
| > 4 m / >13.1 ft | ❌ Bad | |
| Pickleball | < 1.2 m / <4 ft | ⏳ TBD |
| 1.2–1.8 m / 4-6 ft | ✅ Good | |
| 1.8–3.0 m / 6-10 ft | ⚖️ OK | |
| > 3.0 m / >10 ft | ❌ Bad |
Camera Mounting Height
☝🏻 By the way: If you’re using our Standard Pole Solution, the mounting height is already predefined, so you can ignore the height requirements below.
| Sport | Distance to sideline | Rating |
|---|---|---|
| Tennis | 3m-4m | ✅ Good |
| Pickleball | ~3m | ✅ Good |
You have two options for mounting your Dual Camera Module. Choose your installation guide
- Standard Pole Solution (🔗 Go to Installation Guide)
- Wall Installation (🔗 Go to Installation Guide)
a. Dual Camera Module Installation Guide – Standard Pole Solution
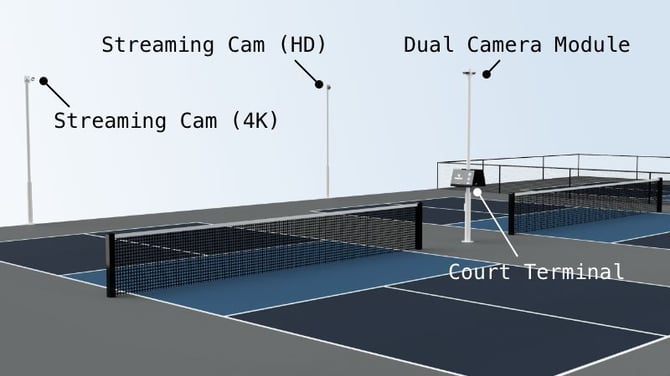
We recommend installing the pole solution when...
-
no wall or fence is available.
-
you plan to install two Court Terminals back-to-back on a shared pole.
💡 Tip: Still in the planning phase and want the pole to blend seamlessly into your court's visual concept? If you're already working with a fence contractor for your court fencing, ask them for a custom solution in the same style as the rest of your fencing — instead of ordering our standard pole.
1. Drill the holes and anchor the pole
⚠️ Attention: You will need a drill or rotary hammer and a 12 mm masonry drill bit for this step.
Step by step:
- For Wingfield AI Pro: Measure the required distances to the sidelines of the court (see table above)
- Position the pole's ground plate exactly at your marked spot and mark your drill holes through the four slots of the ground plate.
- Using a 12 mm masonry drill bit and rotary hammer, drill four holes into the floor.
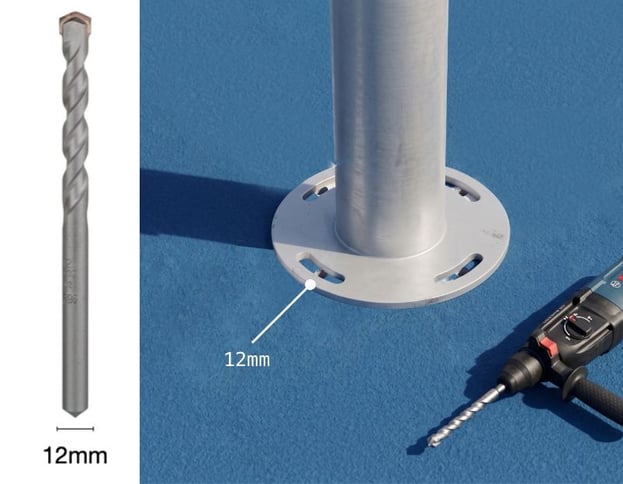
- Remove the drilling dust from the holes with a vacuum.
- Insert the four 85 mm ground anchors through the slots and tighten to secure the ground plate to the floor.
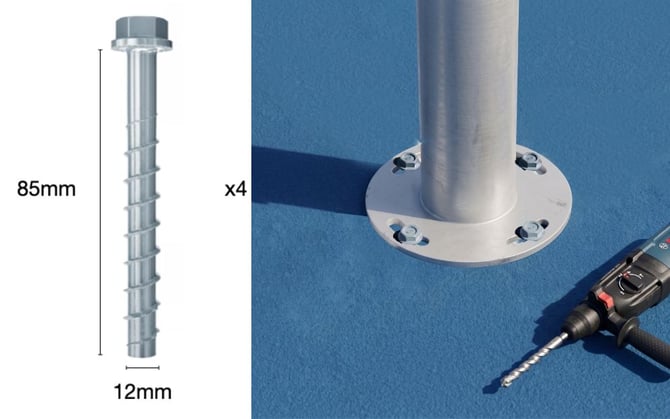
💡Tip: Mark the anchor length (85 mm) with tape on your drill bit so you drill deep enough every time.
2. Attach the three pole segments
In this step, you'll assemble the pole's three segments one at a time, directly on top of the lower segment with the ground plate you anchored earlier.
☝🏻 By the way: If you plan to mount a Dual Camera Module (DCM) on the top segment later for your Wingfield AI Pro setup, this step matters a lot.
Step by step
- Place the middle segment and bolt it to the lower segment.
- Place the top segment on top. Align it so the DCM mounting point faces straight toward the court — this is what lets the camera capture the court squarely later on. Under this link you find instructions for the Dual Camera Module installation on the pole.
⚠️ Attention: If a segment is twisted and doesn't point exactly toward the court, loosen the internal locking collar between the middle and top segment, realign the segment, then retighten the collar.
⚠️ Attention: If the segments aren't perfectly aligned after assembly, you can use the locking collar on the top segment to correct it.
3. Mounting the Dual Camera Module to the Pole Solution
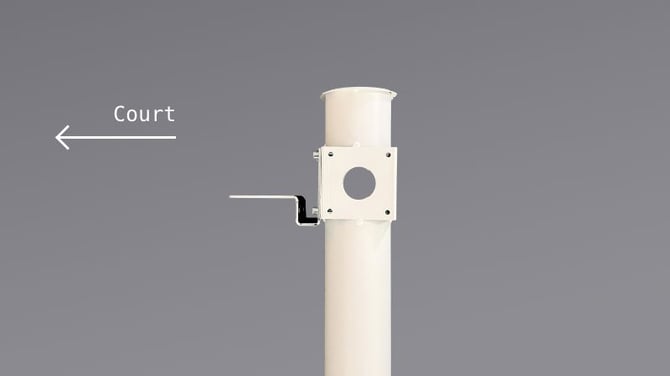
☝🏻 By the way: The images below show a multi-court setup with two Wingfield AI Pro systems installed back-to-back on neighboring courts.
- Attach the L-bracket to the court facing side of the top pole segment with the four supplied screws
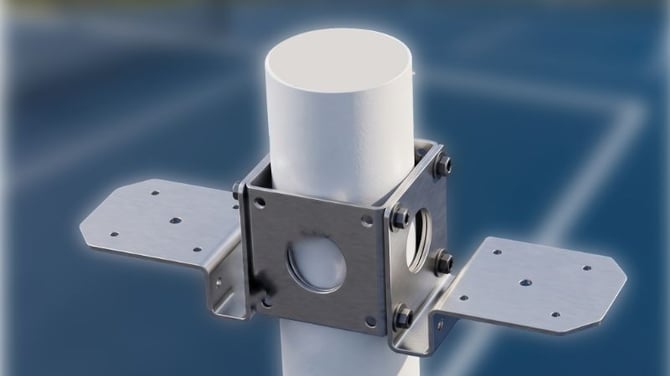
- Attach the DCM to the L-bracket using the two supplied screws.
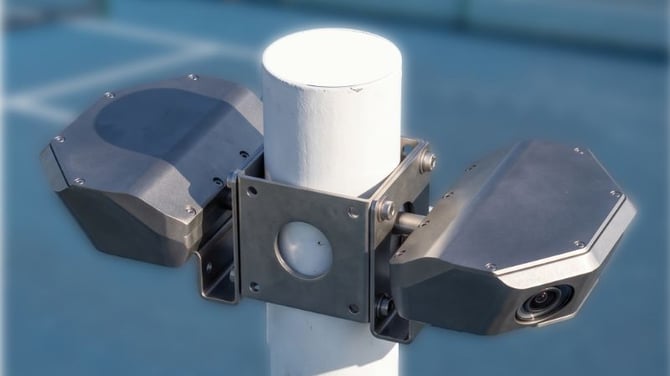
- Run the cable of the Dual Camera Module down through the pole to the Court Terminal nad plug it in (here you can find the 🔗 Installation Guide for Court Terminal – Pole)
b. Dual Camera Module Installation Guide – Wall
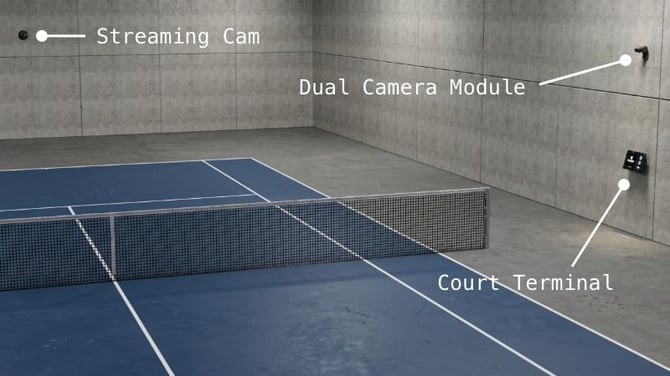
We recommend installing the wall solution when...
- there is a wall nearby and space around the court is limited.
- you don't want to install two Court Terminals back-to-back.
Step by step Guide
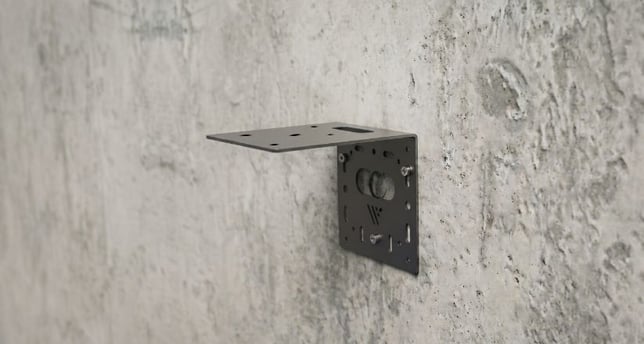
- Measure the position: align the drilling position centrally mid-court. Getting help to position the camera as centrally as possible is recommended. Ensure the distance and height requirements mentioned in the 🔗 table above.
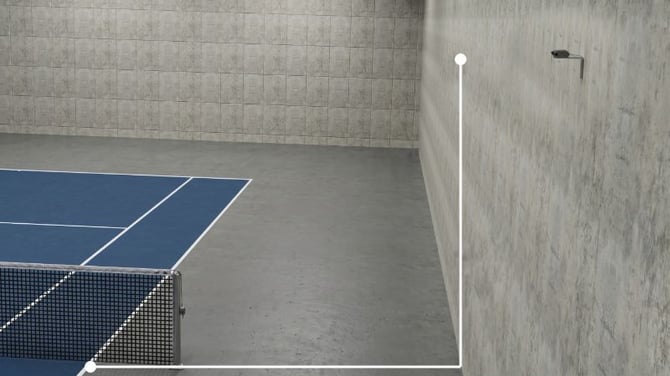
- Mark the drill holes: Use the DCM mount as a template to mark the drilling positions. Use a spirit level to ensure the mount is straight and properly aligned before marking the holes.
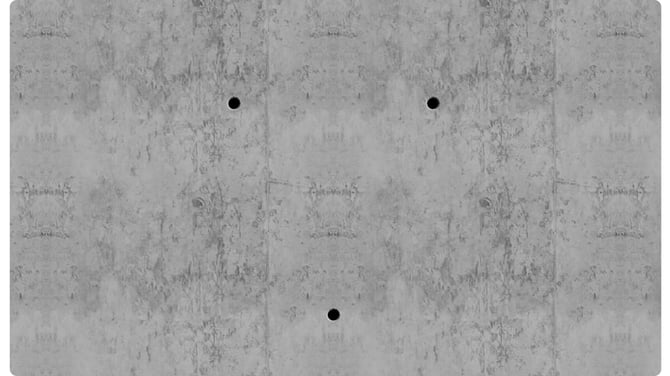
- Screw the mount to the wall: Always use the screws and dowels supplied. If you use your own screws, ensure their heads fit through the DCM mount.
-
Attach the DCM to the mount: Carefully route the cables downward through the opening in the mounting plate, then screw the DCM securely onto the mount. Double-check that the DCM is straight and properly aligned.
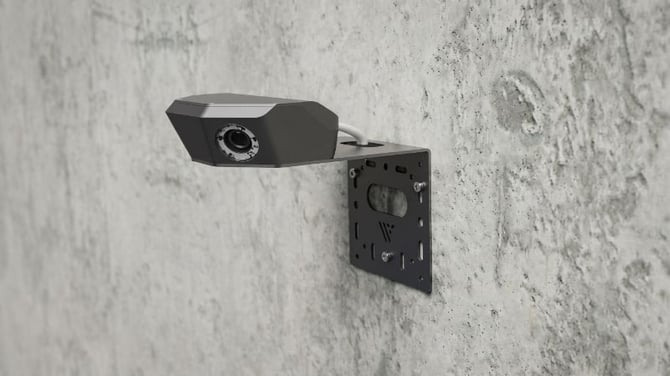
⚠️ Attention: Be careful not to pinch or damage the DCM cables. Protect the connectors and avoid putting unnecessary tension on the cables during installation.
What's Next: Camera Alignment & Calibration
The final step of the Dual Camera Module installation is the court calibration which is carried out by our Support team. Note that you have to install the Court Terminal first.
Need help? We’ve got your back!
📞 Service hotline: 🇺🇸 +1 929 395 1078 | 🇪🇺 +49 511 51525901
💬 WhatsApp: click here
📨 E-Mail: service@wingfield.io