Part 1 | Camera perspective
Of course, the height of the baseline camera has a significant influence on the field of view. Higher positions provide a better overview of the entire court - but the players are much smaller. Lower positions give you a better perspective of the player close to the camera.
💡Tip: Basically, we recommend that you mount the camera as centrally as possible at a height of 3-4m. Of course, you have to check which options you have at all. If necessary, the camera can still be aligned in the housing after mounting (vertical and horizontal panning).
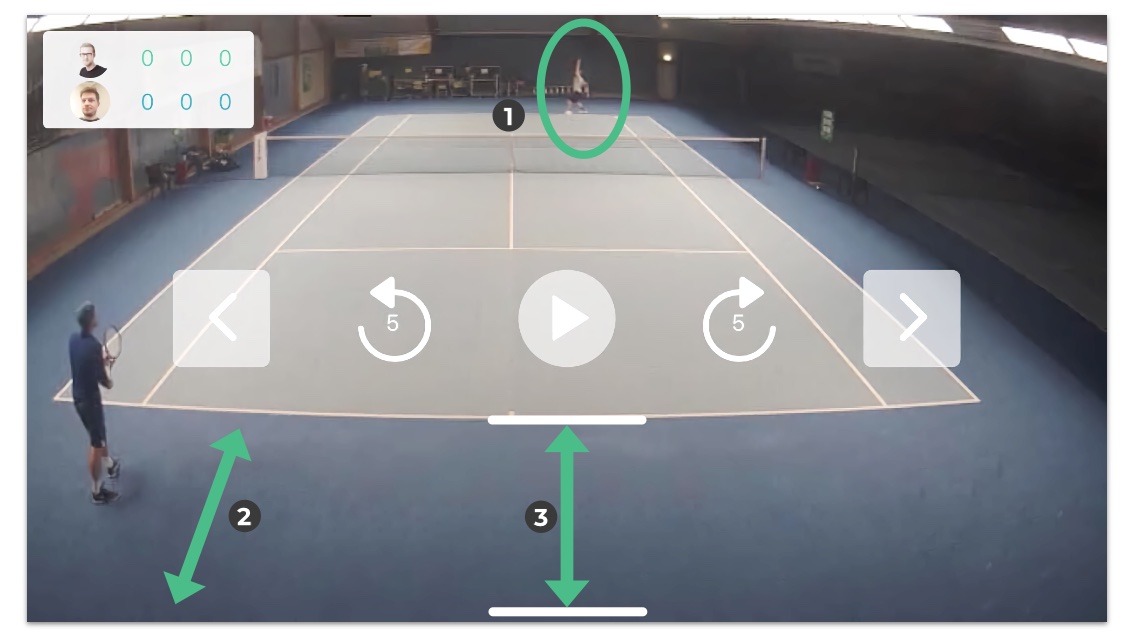
1) Space above the player far from the camera
Ensure that the player's ball toss far from the camera is well captured. Grab a ball and simulate the toss in your test shot.
2) Distance between baseline and bottom edge of the image
At the same time, make sure that there is enough space behind the front baseline. Otherwise, the shots of the players close to the camera could be out of the picture too often. In case of doubt, find the optimal compromise between tip 1 and tip 2.
3) Baseline and bottom of screen parallel?
Ensure that the baseline is parallel to the bottom of the image.
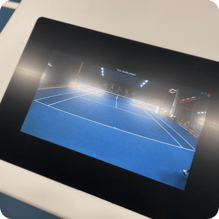
💡Tip: The fine tuning of the camera should always be done by two people. While one person checks the live image of the Baseline Camera in the configuration mode of the Wingfield Box, the other person should directly make the corrections to the camera position.
Part 2 | Mounting the Baseline Camera


We have designed a special mounting plate for our Baseline Camera that allows you to react to the most diverse conditions.
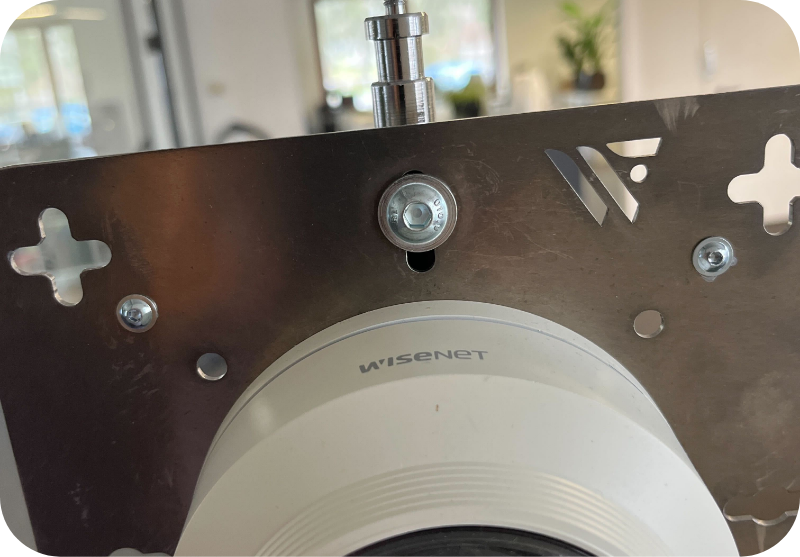
⚠️ Attention: When mounting the camera, make sure that you hang it the right way round. Use the Wingfield logo (above) as a guide. Otherwise the camera image will be upside down. It is possible that the microphone is not positioned as shown in the illustration.
|
How do you want to mount your camera? |
Option 1 | Mounting on a solid wall
☝🏼 By the way: We show you the exemplary mounting on a solid wall (e.g. stone or concrete). If you mount the camera on a wooden wall or beam, you do not need to pre-drill holes or use dowels.
- 1️⃣ Use the mounting plate as a template to mark the drill holes. Getting help to position the camera as centrally as possible behind the baseline is recommended.

- 2️⃣ Always use the screws and dowels supplied. If you use your own screws, ensure their heads fit through the mounting plate. Let the screws protrude 2cm - 3cm from the wall so that there is enough space to hang them.

- 3️⃣ Hang up the mounting plate. Be careful not to pinch the network cable anywhere.

- 4️⃣ Tighten the screws until the camera is securely attached to the wall.

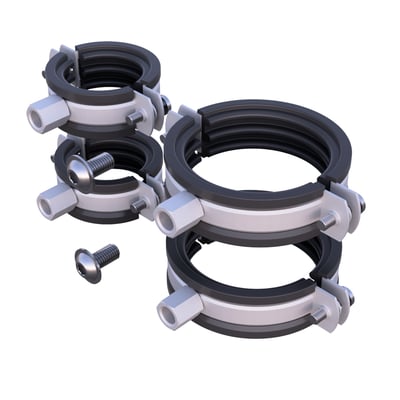
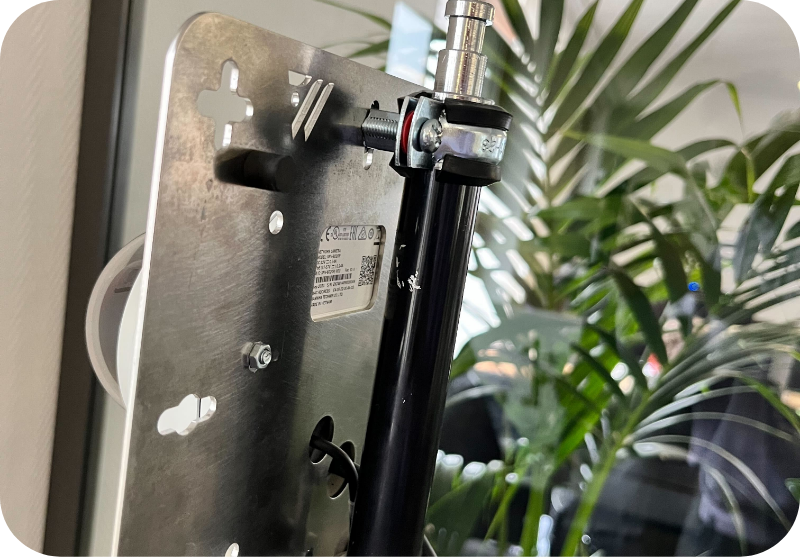
Option 2 | Mounting on (fence) post
Use our Pole Mounts to attach the Baseline Camera to poles. The scope of delivery includes different sizes for different circumferences.

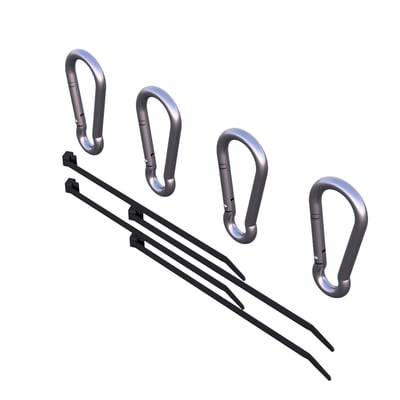
Option 3 | Mounting on a banner / fence
- 1️⃣ Attach the snap hooks to your fence or banner at the desired height.
- 2️⃣ Use the cable ties to attach the camera to the hooks. Clip off the protruding parts of the cable with a pair of pliers.
Part 3 | Align the Baseline Camera:

⚠️Attention: You can only adjust the direction of the camera if it is mounted on the wall. You can change the setting in the following directions:
 |
Pan = turning the camera to the left or right |
| Tilt = turning the camera up or down | |
| Rotate = rotating the lens around its own axis |
Turn the two dome cover fixing screws anti-clockwise using the supplied Allen spanner to remove the cover.
- 1️⃣ First adjust the tilt angle so that your desired image section is taken into account.
- 2️⃣ Adjust the horizontal angle to ensure that the image is not upside down.
- 3️⃣ Then adjust the tilt angle so that your desired image section is covered.
- 4️⃣ Put the dome cover back over the camera and tighten the two fixing screws.
⚠️ Attention: Never forcefully rotate the focus/zoom lens after disassembling the lens body. Doing so may result in incorrect image focus due to a motor error.
Bravo, you did it! 🎉 Have fun with your fully equipped Wingfield Court!

You're on the court and don't know what to do? We are here for you!
📞 Service hotline: +49 (0) 511 51525901
💬 WhatsApp: click here
📨 E-Mail: service@wingfield.io