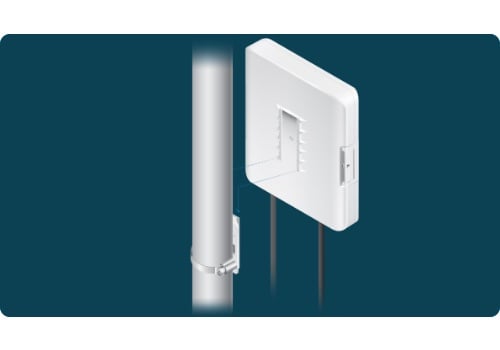
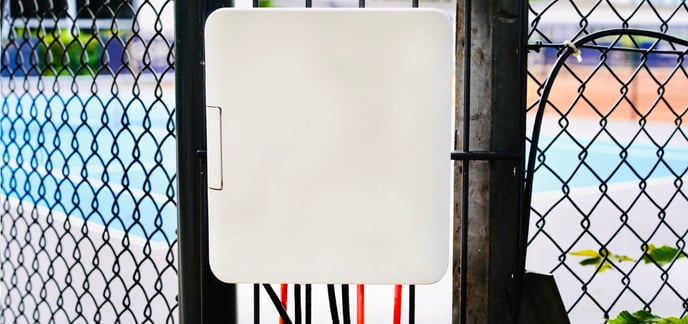
What you need to know about mounting the PoE switch
Here you can find out everything about the placement and mounting options for the PoE switch. 🔀
Placement of the PoE switch
We recommend mounting the PoE switch between the IP Camera and the Wingfield Box at your court, as you can then cover the distances to the Wingfield Box and the IP Camera with the network cables supplied. However, for safety's sake, measure the distances again. Excess cable can be wound up at the end if necessary.
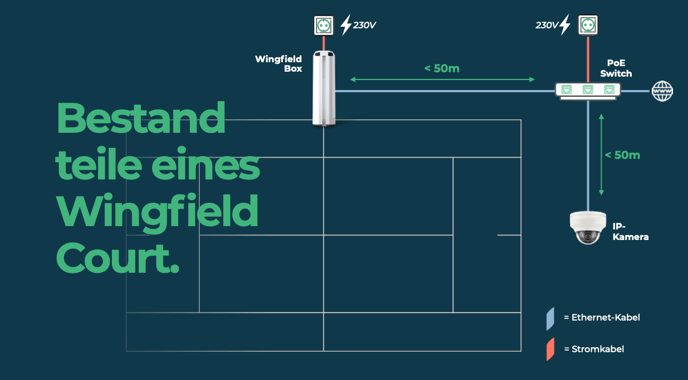
💡 Tip: When positioning the switch, also consider the range to the power and Internet connection (usually your router). If power cables or network cables have to be placed from the router to the site before the actual installation, consider the exact position of the switch beforehand. Please use the form from our Checkliste for planning.
Mounting options of the switch
Wall mounting
Step 1 | Draw drill holes
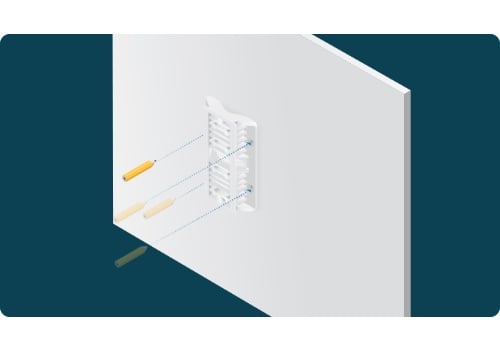
Use the fixing device as a template to mark the drill holes.
Step 2 | Drill holes
Use the supplied 6mm drill bit to drill the four holes.
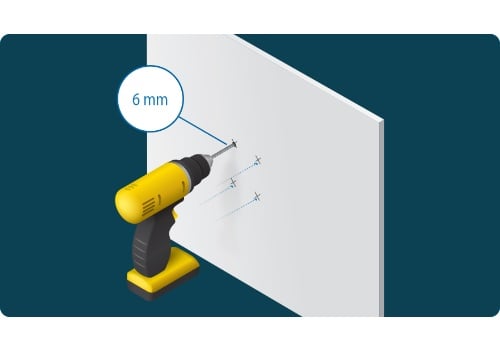
Step 3 | Insert dowels into the drill holes
Insert the supplied dowels into the finished drill holes or use your own, depending on the wall material.
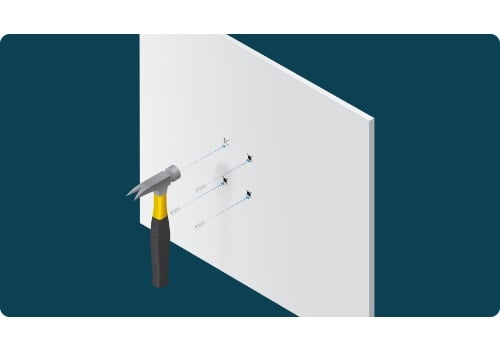
Step 4 | Tighten the fastening device
Now screw the fixing device to the wall using your own screws or the screws supplied.
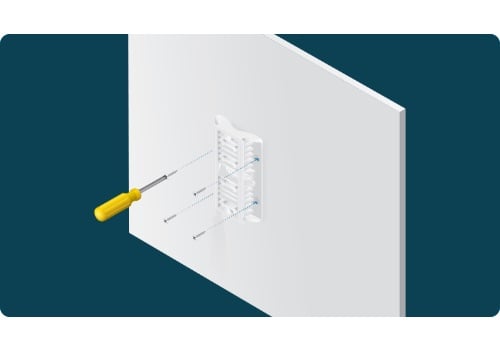
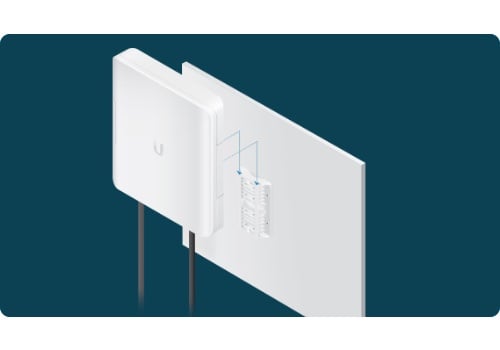
Step 5 | Hang up PoE switch
Hang the PoE switch in the attached device.
Mounting on fence post
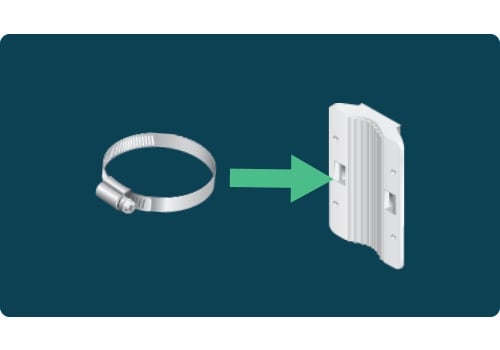
Step 1 | Fix the pole mount to the mounting device
Insert the pole mount through the slots of the PoE switch's mounting bracket. Note the correct direction in which you pull through the metal band (see the following illustrations).
Step 2 | Mount the fixing device on the pole
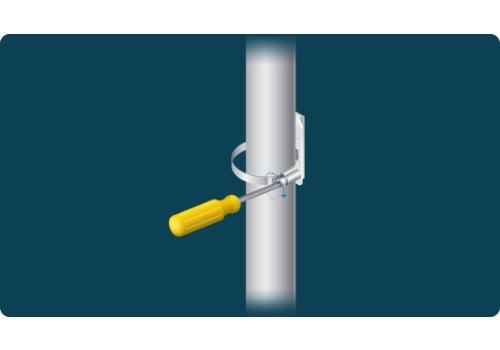
Put the pole mount around the pole and lead the metal band through the eyelet of the pole mount. Lash it tightly and fix the mount with the integrated screw. Meanwhile the metal band continues to pull around the pole.
Step 3 | Hang up PoE switch
Hang the PoE switch on the mounting device mounted on the pole.
