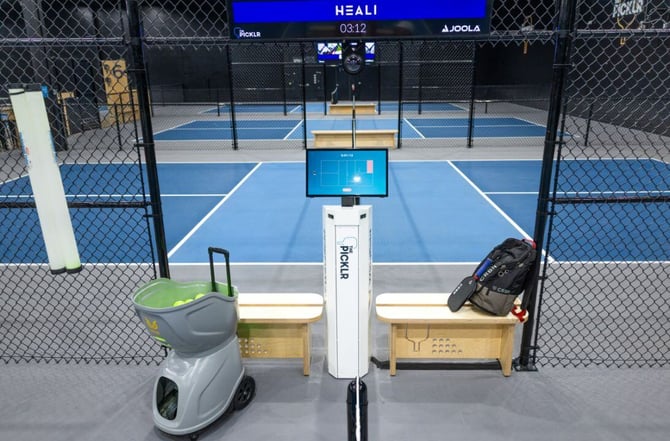
👣 Step 1 | Fix the Wingfield Box to the ground
| 🛠️ In this step, you will need: |
| Wingfield Box Body |
| Ground plate (part of the Wingfield Box Body) |
| 4x Ground anchors (in the plastic bag attached to the ground plate) |
| Drill or rotary hammer |
| Allen key (we recommend having a bit set with you) |
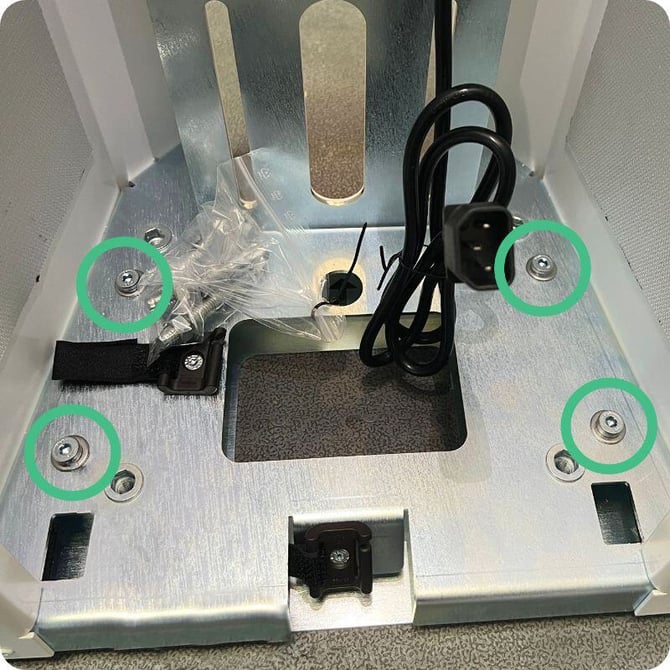
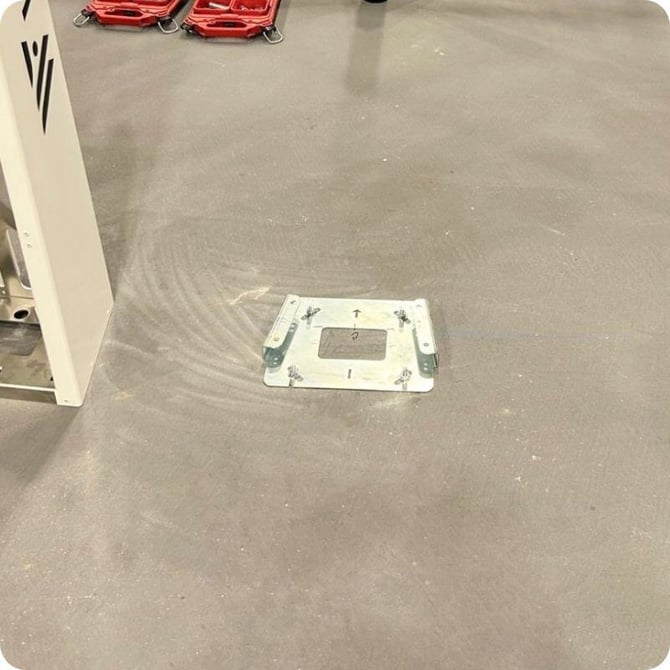
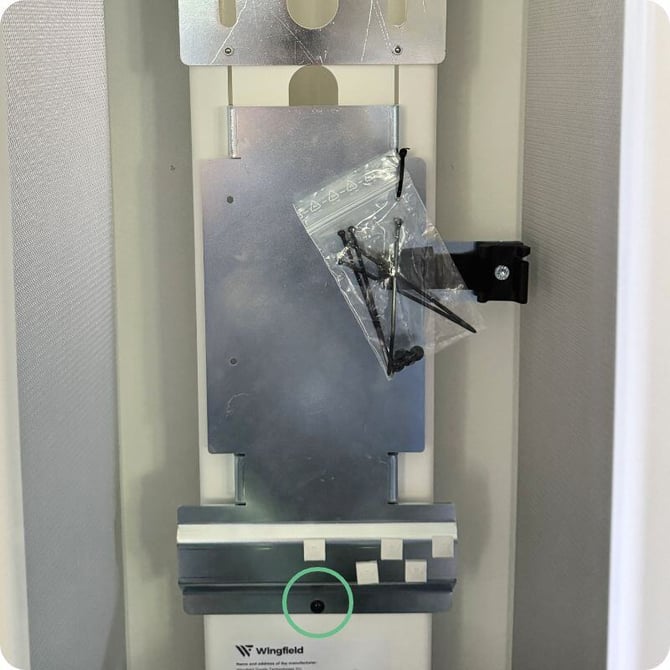
1️⃣ Remove the ground plate:
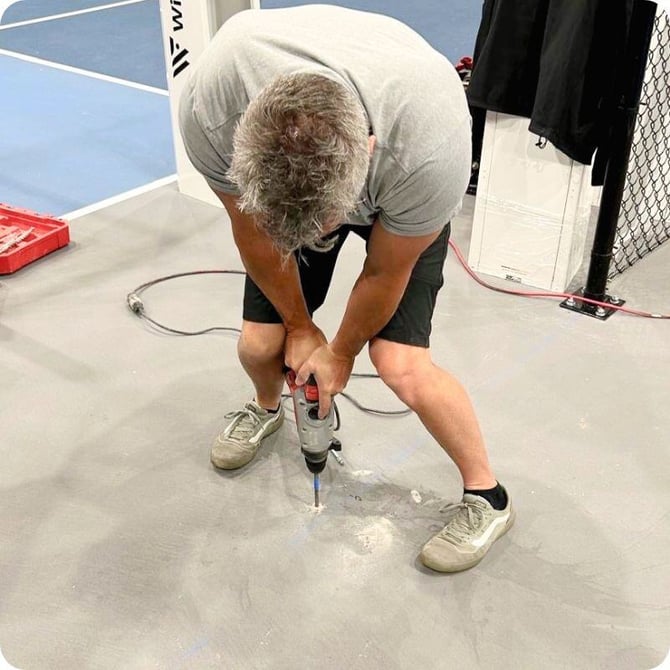
2️⃣ Drill holes:
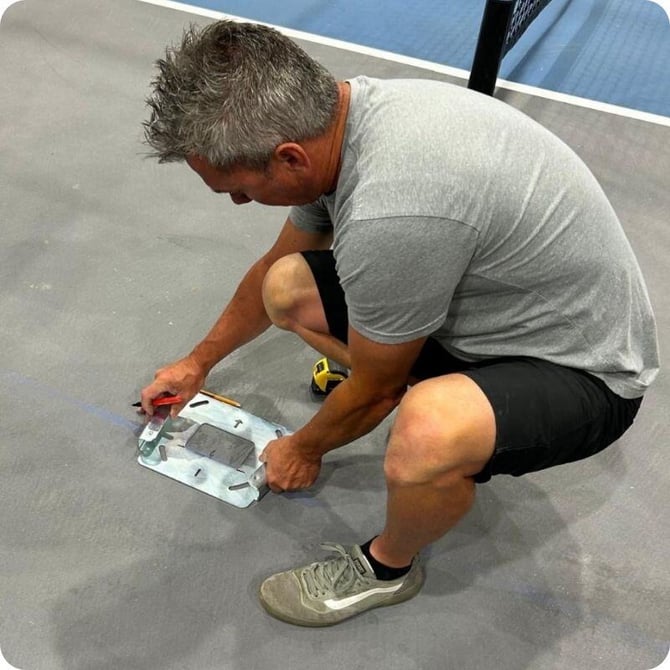
💡Pro tip: Mark the length of the anchors on your drill (e.g. with tape) so that you drill deep enough.
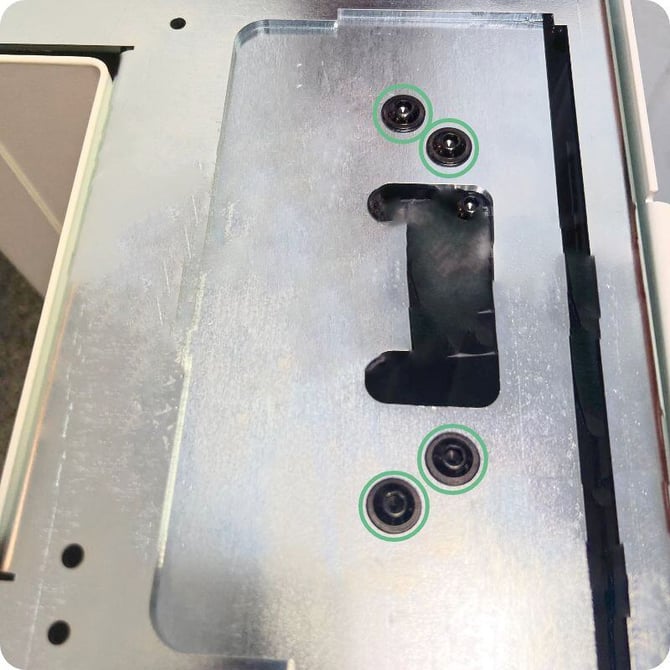
3️⃣ Mount the ground plate:
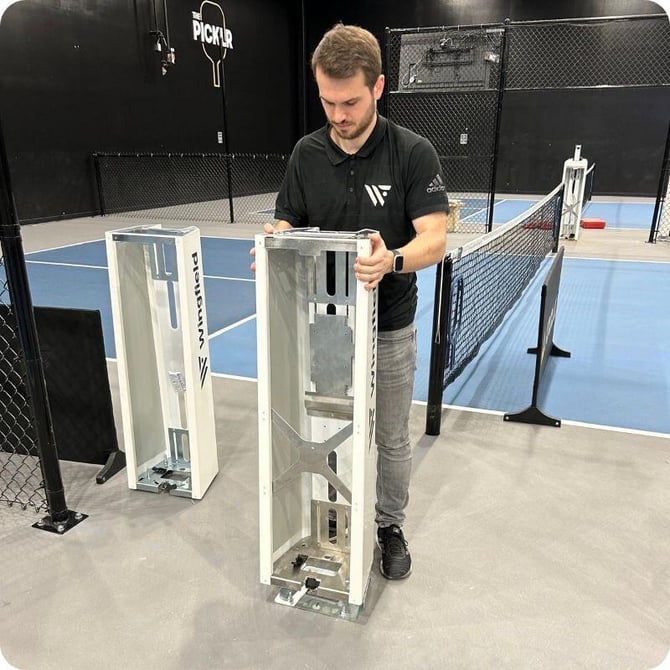
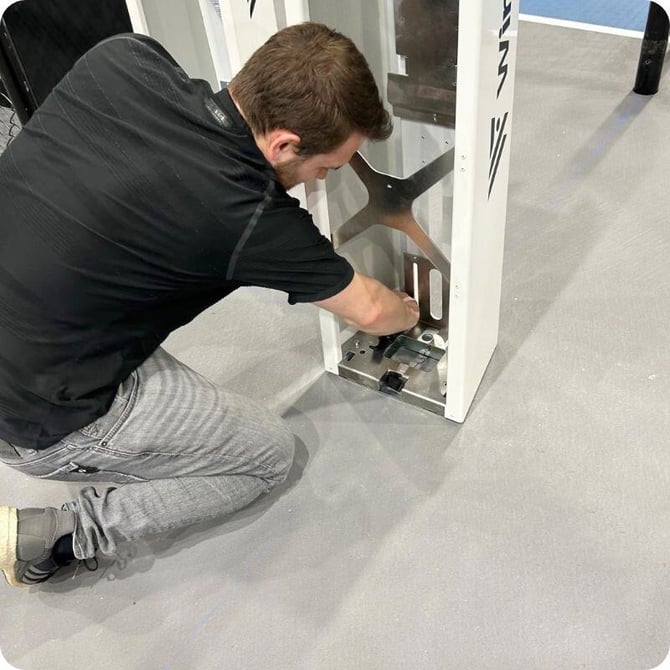
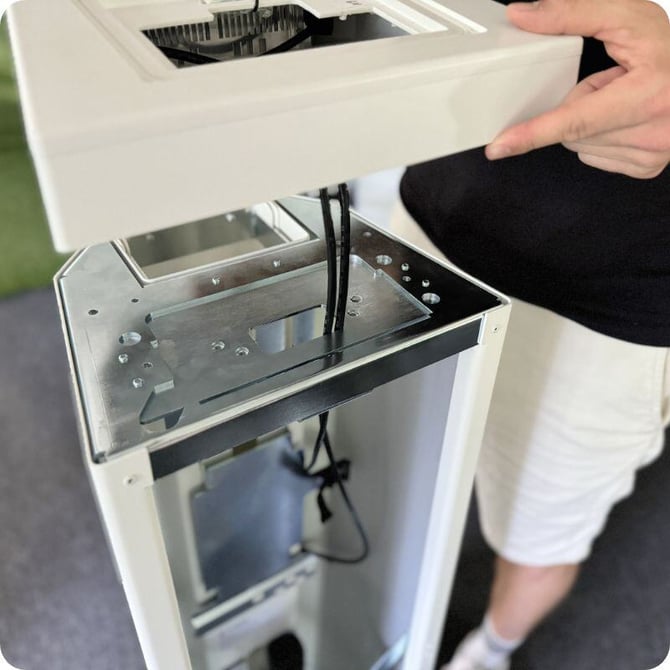
4️⃣ Mount the Wingfield Box Body:
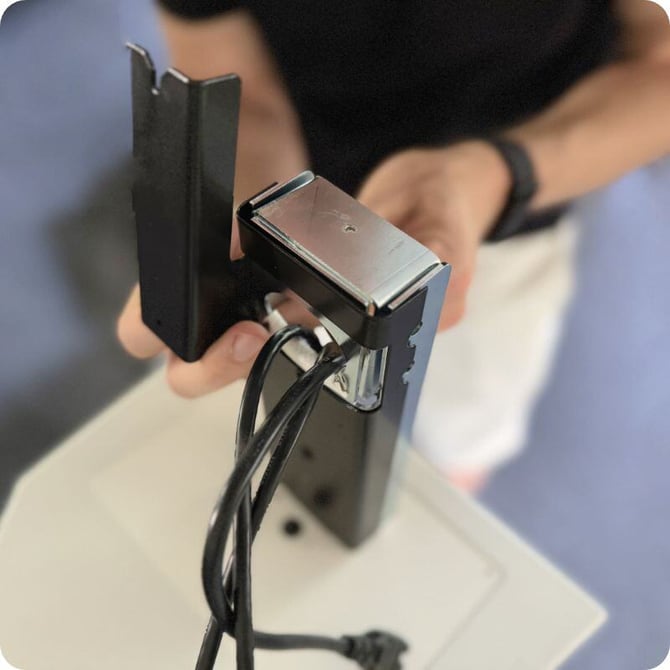
Remove the black screw from the small contact surface of the Display Mount. Now push the cover plate over the Display Mount down to the Dual Camera Module. Fasten the plate with the black screw you just removed from the Display Mount.
💡Pro tip: If the plate does not slide directly into the hole, pull the Display Mount slightly backward to relieve tension on the plate and then press the plate into the hole again.
- Power cable (Elo Touch Display)
- PC USB cable (Elo Touch Display)
- HDMI cable (Elo Touch Display)
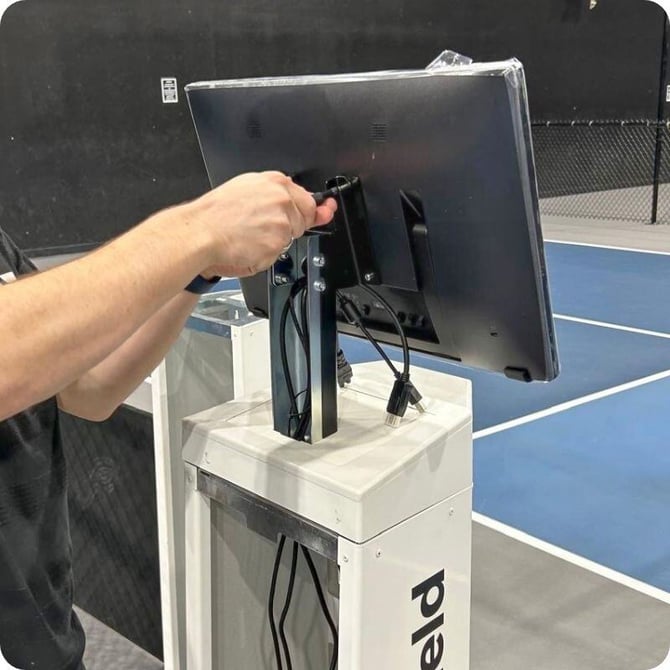
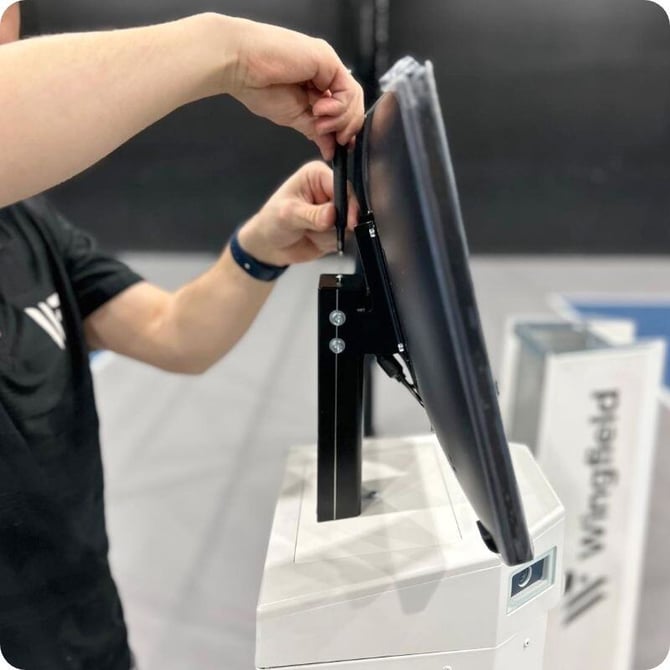
3️⃣ Attach the Touch Display:
💡Pro tip: Remove the bottom two screws and unscrew the top two screws only halfway so that you can easily hook the screen into the display mount from above. Then screw the screen tight with all the screws.
That was a hell of a ride! But you finally got this!! 😮💨
👣 Step 3 | Attach the PC to the Wingfield Box
| 🛠️ In this step, you will need: |
| Wingfield Box Body |
| Vesa Mount (incl. 4x screws) |
| DELL PC |
| Allen key (we recommend having a bit set with you) |
| Wingfield Box power cable |
| Dell PC power cable/power supply unit |
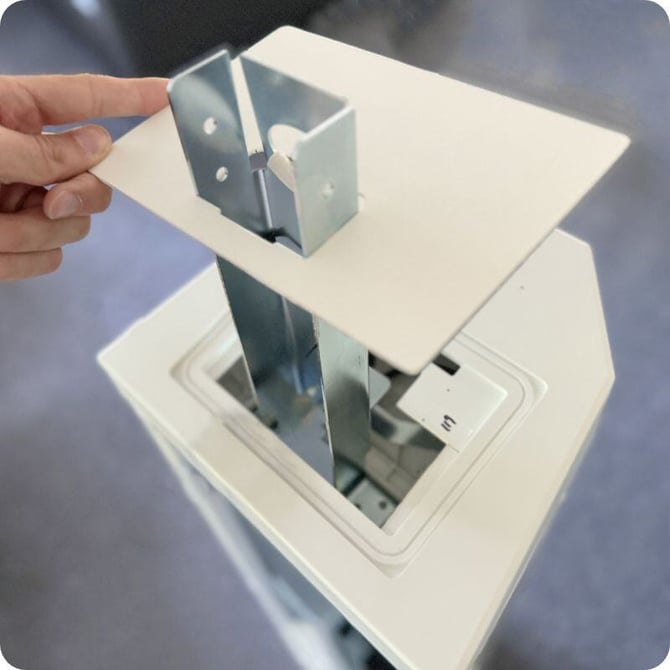
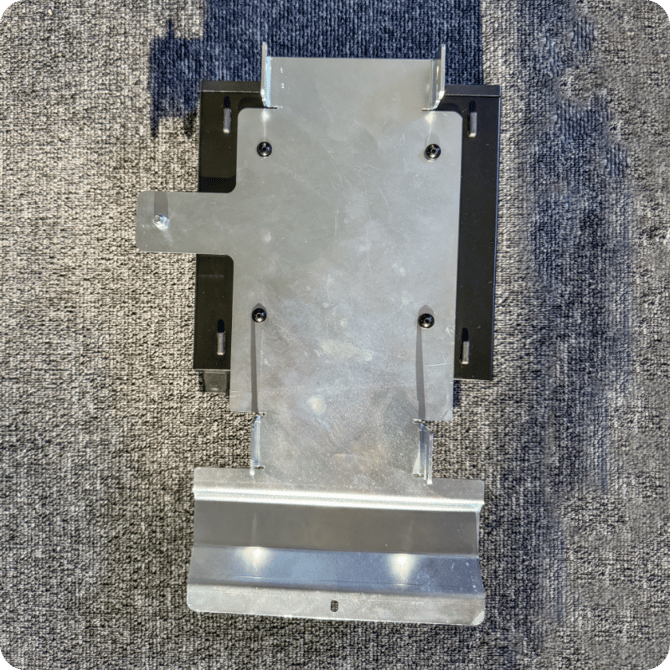
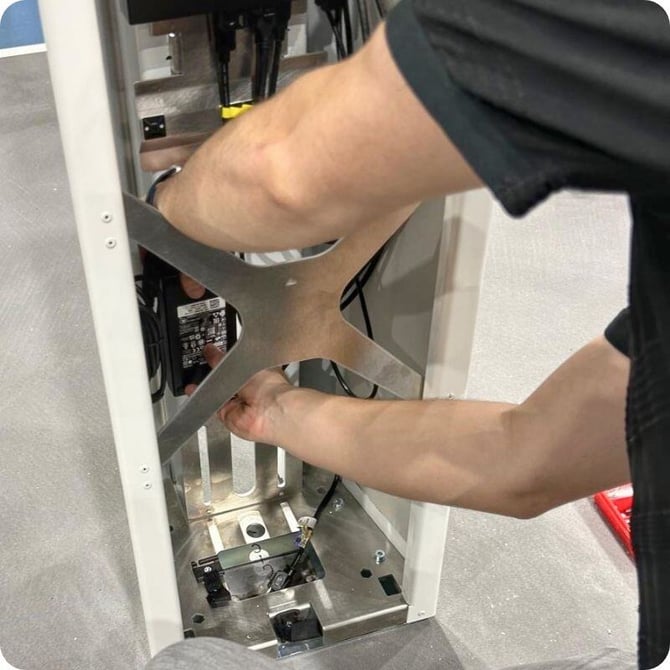
1️⃣ Prepare the Vesa Mount
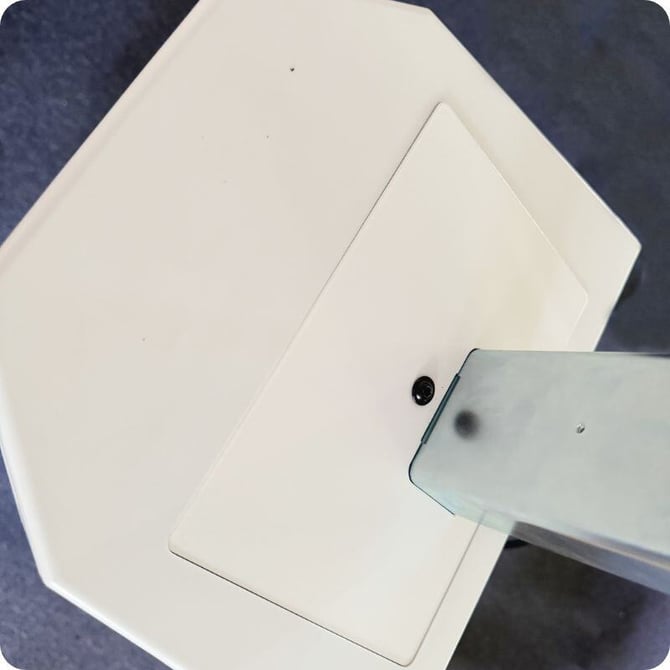
Remove the black screw on the bottom of the Vesa mount and take it off from the Wingfield Box Body.
⚠️ Attention: Make sure that the ports for the cables are facing upwards.
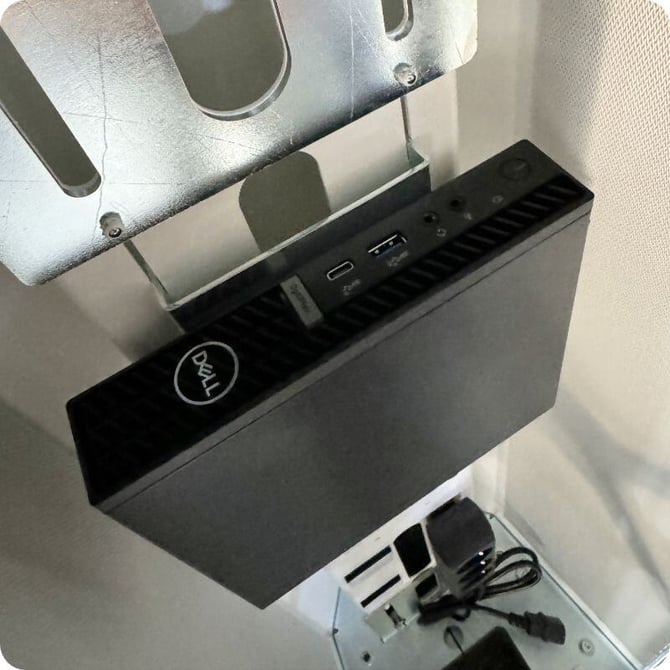
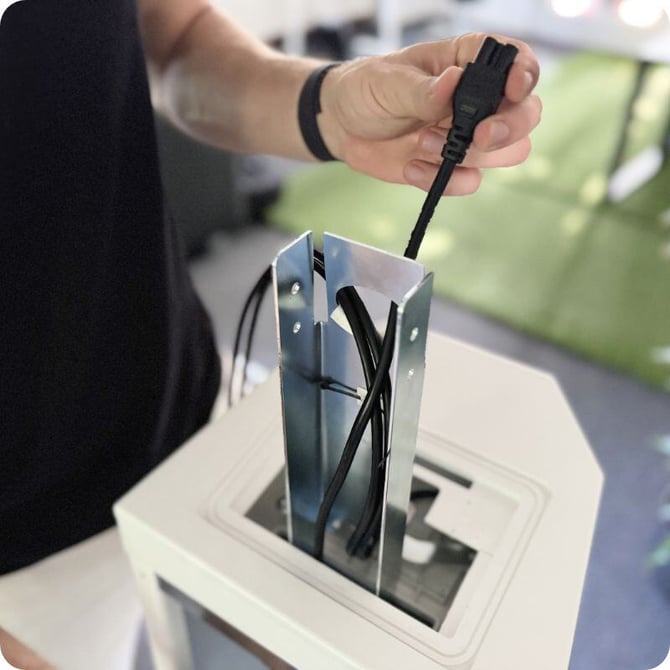
2️⃣ Connect the Wingfield Box
Plug in the following cables into the Dell PC:
- 2x USB cables of the Dual Camera Module ➡️ Dell PC
- 1x PC USB cable from the Touch Display ➡️ Dell PC
- 1x HDMI cable from the Touch Display ➡️ Dell PC
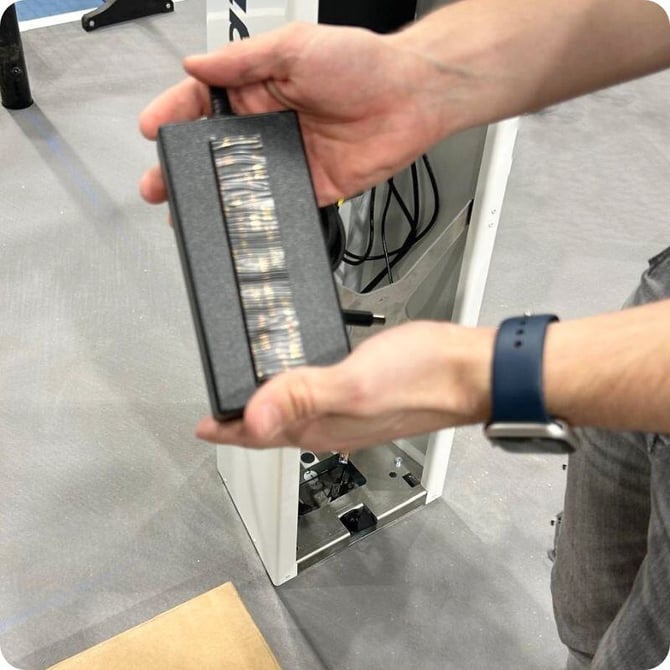
- 1x Power cable of the Dell PC ➡️ Dell PC
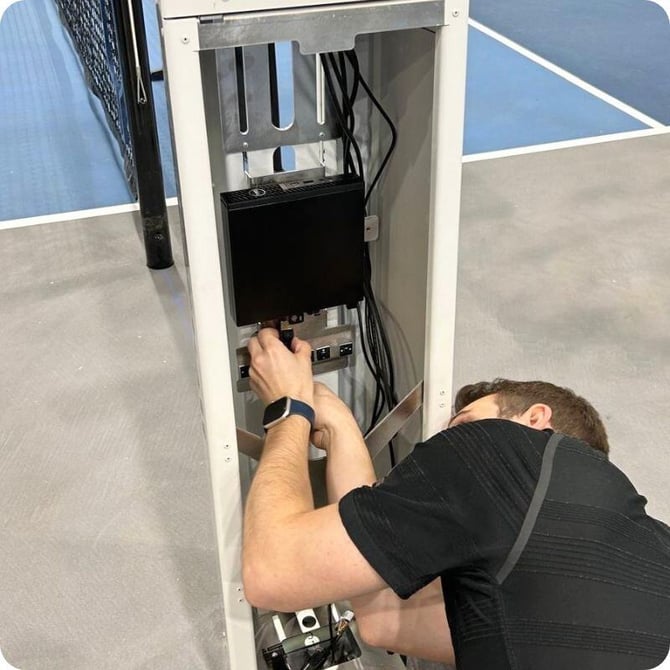
Plug the following power cables into the power sockets ⚡️
- 1x Power cable from the Touch Display ➡️ power socket
- 1x Power cable from the Dell PC ➡️ power socket
Plug the power cable (of the socket) into your power outlet. Give the Wingfield Box a few seconds to wake up. 🥱
🎉 Great, you have mounted your Wingfield Box. Let's move forward with the PoE switch.
Installation guide🔧
We'll guide you step by step through the installation of your Wingfield Box:
- 1️⃣ Set up the Wingfield Box (Pickleball) ✔️
- 2️⃣ Connect the Wingfield Box to the internet
- 3️⃣ Calibrate your Wingfield Box
➡️ Continue with: Connect the Wingfield Box to the Internet

You are standing on the court and don't know what to do? We are here for you!
📞 Service hotline: +1 929 395 1078
💬 WhatsApp: click here
📨 E-Mail: service@wingfield.io